Hacking Myself

Electronics and computer-based technologies are integrating into our society at an ever-increasing rate, and – despite the potential for them to be abused – I find myself excited at the possibilities of  what can be achieved with the latest developments in those areas. I am especially fascinated with wireless technology. Unseen energy being utilized to accomplish various tasks using WiFi, Bluetooth, RFID and NFC. It’s like magic to me!

Our Makerspace uses RFID tags to control access to the building. To enter, you scan your tag, enter a PIN (personal identification number) which is verified against the list of access credentials on TCMS’ server, and upon verification a relay is energised to unlock the door. This system benefits the Makerspace in terms of both cost and administration, as RFID tags are cheaper than making keys for everyone and as their use gives the TCMS board the ability to track and monitor the level of activity at the Space. One day I accidentally locked my keys inside the building, and needed to wait to be “rescued” by another member of the Makerspace. I vowed that this would never happen again, and remembered that one of our other members had taken what some would say extreme measures to have an RFID chip implanted into his hand! I had been fascinated by the potential applications of this procedure, which include access controls like normal RFID tags.  The RFID chip used is about the size of a grain of rice, and is sealed inside a glass enclosure.

I decided to take this idea a step further – I would get an RFID tag implanted in one hand, and an NFC tag implanted in the other hand.

The RFID chip was cheap (~ $10) and non-programmable; it contains a unique PIN, which I had entered into the TCMS access credentials system. I use this chip to gain access to the Makerspace now. It is in my right hand, so I “scan” my right hand at the door,  enter the chip’s PIN, and voila – the Makerspace door opens. No more losing tags or keys!

The chip in my left hand is an NFC, or Near Field Communications, chip. This chip cost around $99 from DangerousThings (https://dangerousthings.com/shop/xnti/), and is programmable with my phone using the DangerousThings app (available through the Android apps store at https://play.google.com/store/apps/details?id=com.dangerousthings.nfc&hl=en); I have also found the NFC Tools app to be useful. I used this app to scan and program my chip to protect it against accidental locking, which would make it non programmable.

I have added my chip to the lists of access credentials on various trusted devices so that I can, for example, unlock my phone by scanning my tag (tapping my phone to the back of my hand). I have also used the NFC tools app to program my chip to carry my ‘vcard’, or virtual business contact card, which allows me to transfer my contact information (name, phone number, email address, etc. ) to someone else’s phone by tapping their phone on my hand! Unfortunately this will not work on iPhones, as Apple has restricted NFC functionality to be used exclusively with their iPay app; but Android phones permit it so long as their NFC functionality is enabled.

Building further on these basic applications, I’ve loaded a profile (script and data) onto my chip with a link to my resume, so that if you scan my tag it prompts you to download my resume from my website! So cool – I’d hire me! 😀 Finally, I’ve created and loaded another profile to save my personal emergency information (name, allergies, blood type, emergency contact info), which can be transferred to someone else’s phone in a similar way. I am considering getting some sort of tattoo to indicate the implant’s presence to emergency personnel; if anyone reading this has any ideas about how I should go about doing this, please let me know!

I feel like a spy with this kind of technology literally embedded inside of me! I am excited to see the future of implantable technology development and applications, and cannot wait for the day when I can pay for things by scanning my hand!

Picture References:

All pictures and videos provided and owned by Gary Alan Dewey, except for “Quarter and Transponder”. Dangerous Things. Dangerous Things. 4 March 2018. Web. 4 March 2018.

Project Profile: Maker Robots Mural

Triple Cities Makerspace has been established on the premises at State Street in Binghamton for over a year now. A number of people have devoted an enormous amount of time, effort, materials, and money towards fixing up the building and grounds, and outfitting the facilities with everything it would need to allow people to work on lots of different kinds of projects, from woodworking and welding to electronics and sewing. One important part of this process which has sometimes been overlooked is the furnishing and decorating of the premises; as the success of the Makerspace depends on its forming a dedicated community of enthusiastic creative people, it is important to have the building feel like a safe, comfortable, and welcoming place to be. To that end, Makers have made a concerted effort to paint parts of the Makerspace in warm and vibrant colors, and to donate artistic works or decorations to its rooms.

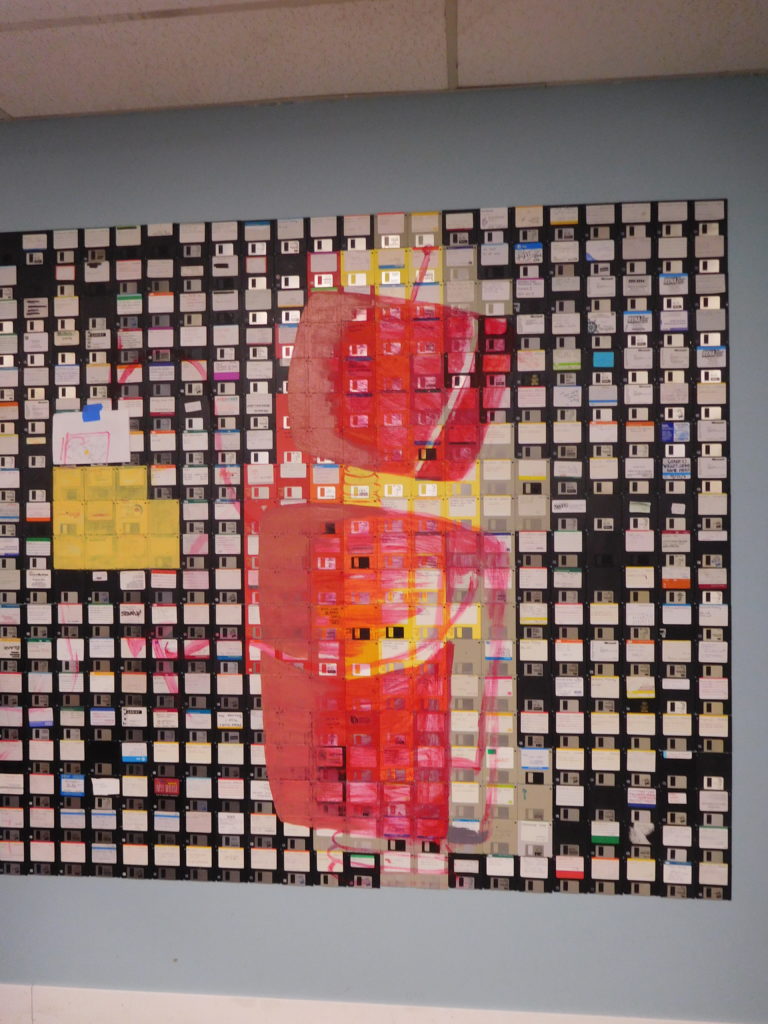
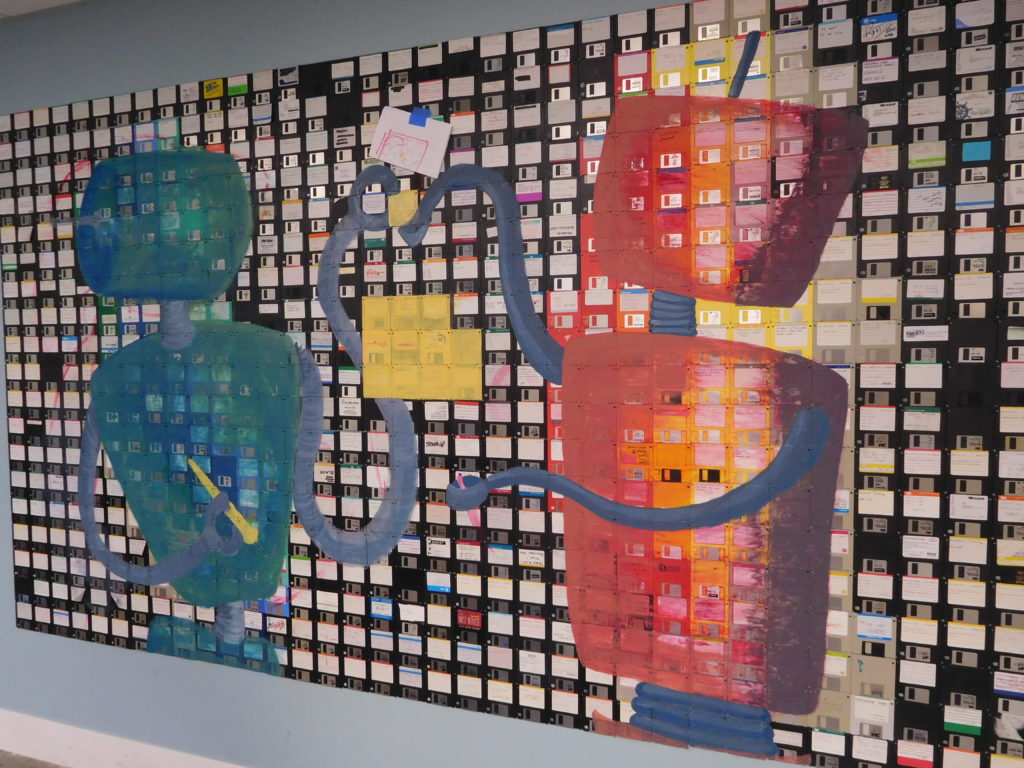
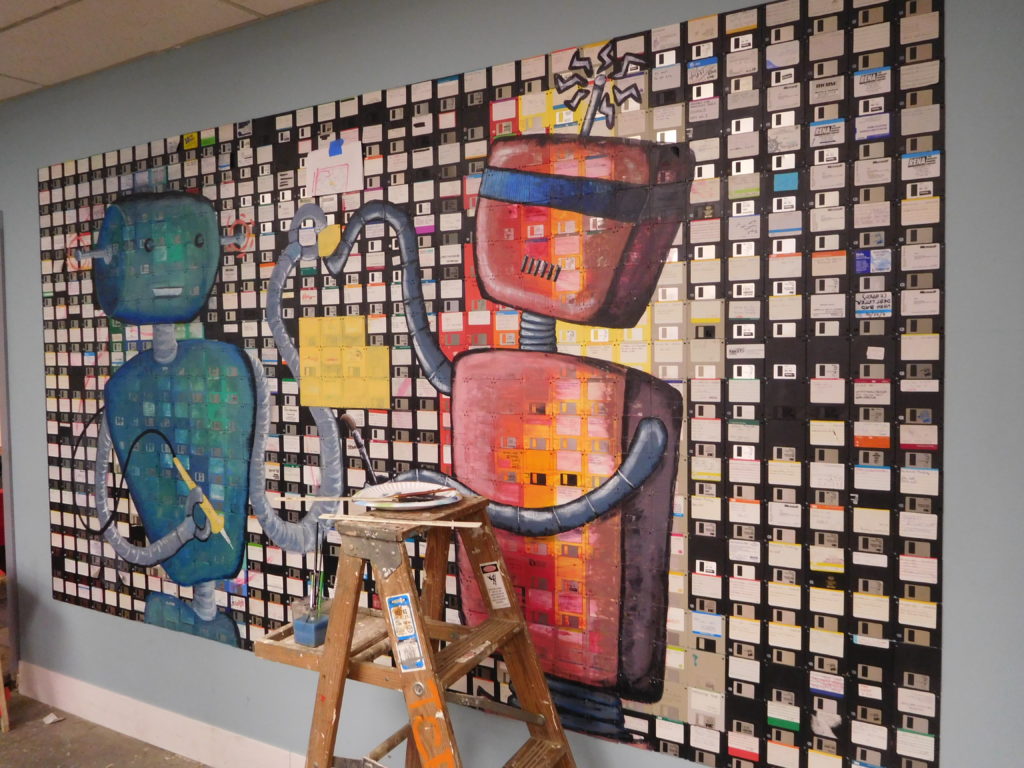
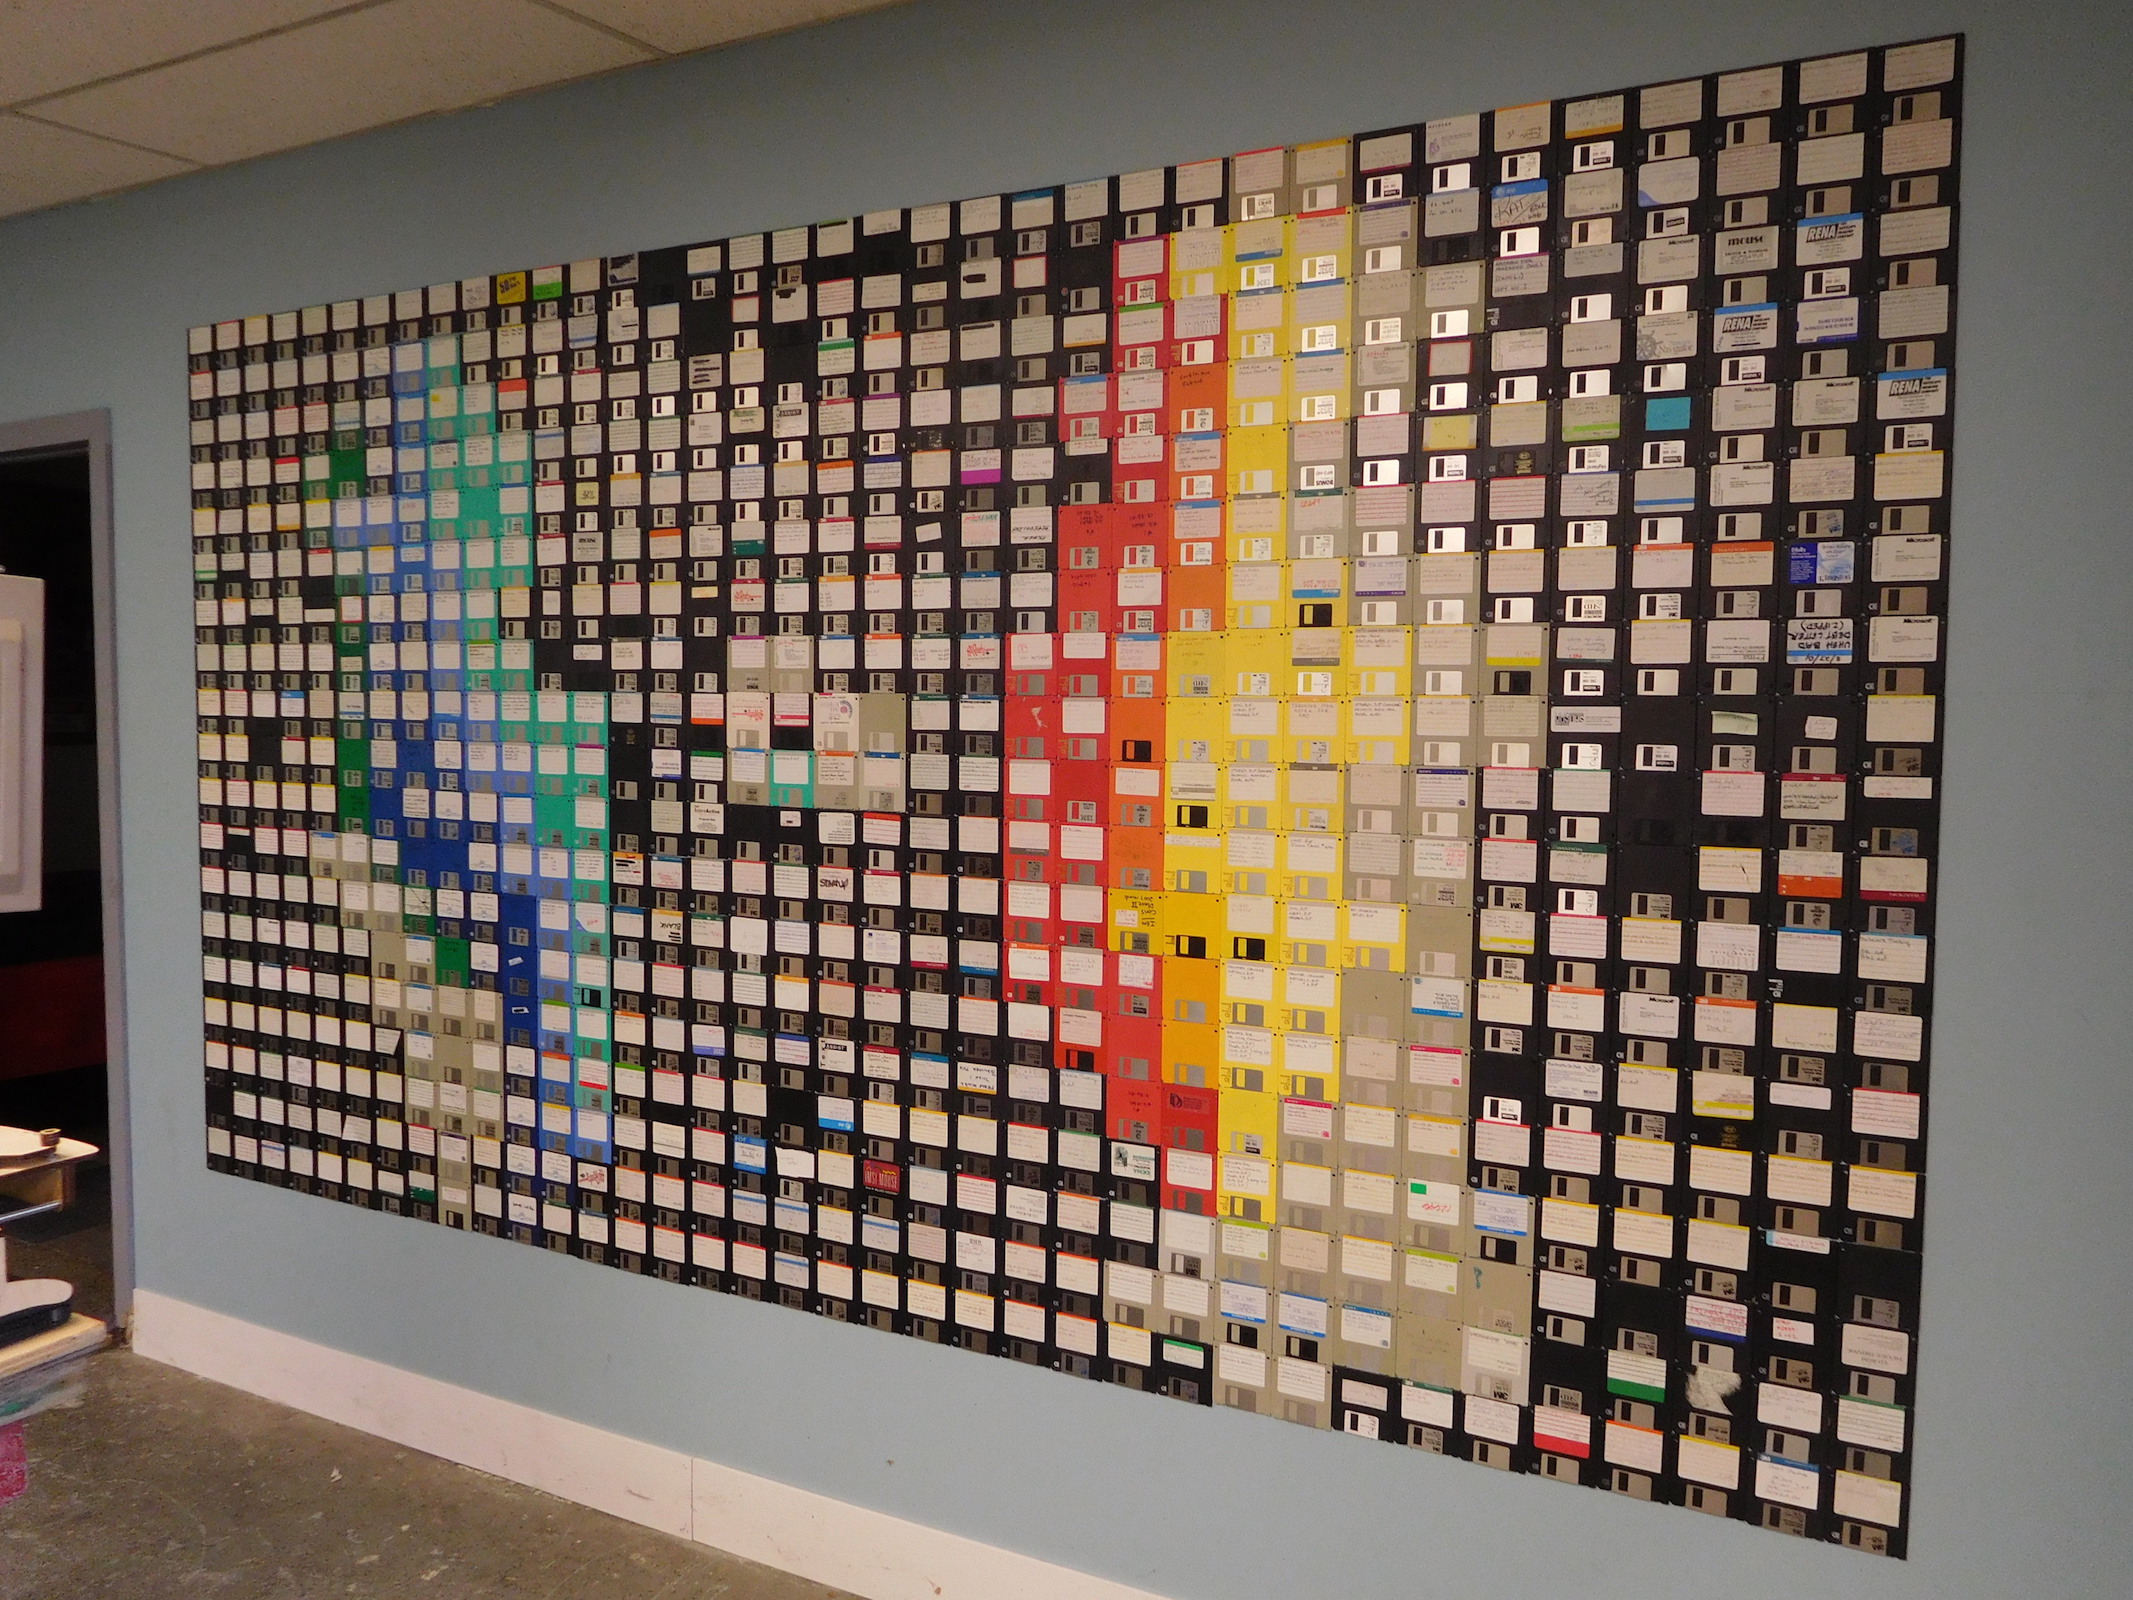
One of the most prominent artistic projects at the Makerspace to date is the large mural in the main room featuring two robots on a background of several dozen floppy disks. This artistic piece was the brainchild of Leslie-Morgan Frederick, a long-time contributor to and past board member of Triple Cities Makerspace. She was originally asked to create the mural by Drew Lacock, one of the founding members of the Makerspace, as a showpiece highlighting the artistic talent and potential of the TCMS community; he suggested a fan art painting of “Rock’em Sock’em” robots, which Leslie-Morgan extended to the idea of “makerbots”. The intent of this project was to highlight the idea of having a diverse set of people from all walks of life and with different levels of creative experience meet at the Makerspace to work on various projects and to share ideas, knowledge, and creative techniques with one another. As such, Leslie-Morgan’s idea was to have the mural feature two robots reaching out towards one another, not with fists, but with tools to make things – together. The floppy disks were used as a base for the mural to add the idea of the use of technology in making, both old and new.

With the basic idea of the mural conceived, work on it had to wait until the main room’s walls were drywalled and painted, which was done in the final months of 2015 and beginning months of 2016. At that point, the floppy disks were selected by color from a large cache of disks that had been donated to the Makerspace, and were then installed using liquid cement on a wall in the main room chosen for its proximity to the Makerspace’s main entrance and visibility throughout the room. As the rectangular mural base comprised some ~200 disks, arranged from black into progressively lighter and brighter shades of primary colors, this work took a couple of evenings and a lot of work on the part of Leslie-Morgan and a dedicated group of Makers to complete.

She then enlisted the help of her friend and fellow artist Amanda Truin, whose work can be seen on the 2016 Makersgiving potluck dinner invitations. The two artists collected paintbrushes, paints, and a stepladder from the Makerspace’s existing supplies, and set aside a Saturday just after the New Year to create the mural. After a quick discussion with Amanda regarding the intended purpose of the work, Leslie-Morgan quickly sketched out a basic draft of the mural with a pen on a piece of scrap paper, and they set to work together.

The resulting mural took shape as a completely collaborative and organic effort of Leslie and Amanda, whose artistic training and close friendship made the process of working on the project together very easy and fun. They were able to freely communicate various ideas and inspirations for the piece as a whole or in part on the fly, and to criticize and praise each other’s contributions respectfully. They each painted one of the robots after Amanda drew an outline of the entire project, with Leslie-Morgan’s robot (on the left of the piece) having a more illustrative style while Amanda’s robot (on the right of the piece) took on more of a cartoonish, 3-D appearance. Their different artistic styles ended up merging very well throughout the daylong marathon of painting, which was broken up by munching on crepes prepared by fellow Maker Ethan Bexley and the occasional dancing to background music! Room was also made for instantaneous or future additions to the project, such as the golden cube between the robots which is suggestive of a “Mario box”.

The completed mural is a highlight of the Makerspace facilities which makes the building feel much more homelike and comfortable, and is frequently commented favorably on by visitors to the Space. Hopefully it will serve as inspiration for many future artistic creations and collaborations by the local Makerspace membership, and will long serve to commemorate the spirit of communal Making!

Project Profile: Erik Leonard’s Electric Motorcycle

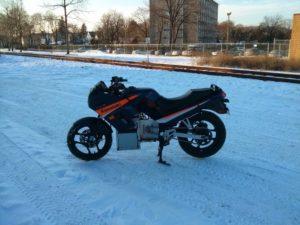
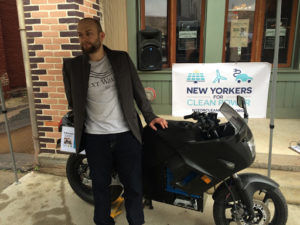
Probably the largest and most significant project to have been developed at TCMS since its inception is founding member Erik Leonard’s electric motorcycle project. Erik has long been interested in alternative energy sources and projects, and after reading about various homegrown electric vehicle (EV) projects online, decided that he wanted to make his own. Due to cost, complexity, and physical size restraints, he decided to try building an electric motorcycle rather than a car. This was still a very challenging project for him in a number of ways, however, as he then had no motorcycle license or riding experience, and despite an extensive background in robotics had never attempted to build or significantly modify any kind of vehicle before.

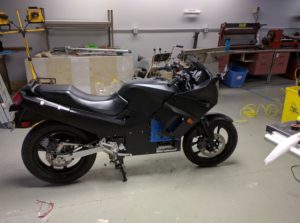
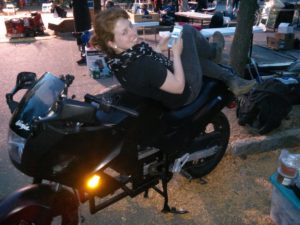
Erik chose the fundamental components for the first iteration of his motorcycle based on a combination of practical, convenience, and aesthetic reasons. A close friend was willing to sell him a sport bike (Kawasaki Ninja) which he could use as a base platform for a reasonable price; this particular bike has a wide aftermarket for mechanical replacement and upgradeable components, and appealed to Erik’s aesthetic tastes. The Ninja also happened to have a spine or ‘backbone’ frame, which made swapping out the existing gasoline powertrain a relatively easy task and provided lots of flexibility for mounting EV components in different spatial configurations for optimal weight balance, ease of installation / maintenance, and overall design effectiveness. Erik’s online research into other EV projects provided him with a set of equations for calculating how powerful of a motor would be needed to drive the bike, based on the projected weight of the bike + rider, desired top speed, and overall performance characteristics, among other things; after running through the calculations and double-checking his work, he was able to easily obtain a suitable motor from an eBay vendor. His research also put him in direct contact with many other EV creators, one of whom sold him a motor controller sourced from another EV manufacturer (Zero Motorcycles). Finally, the first iteration of the motorcycle made use of secondhand lead-acid batteries purchased from Craigslist for the power source, for reasons of cost and easy maintenance (in terms of swapping individual cells out as needed).

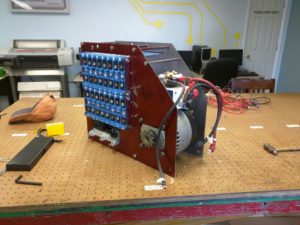
After acquiring all of these major components and putting a lot of time and effort into creating electrical and mechanical designs / layouts for the motorcycle based on these components, Erik started assembling it at the Makerspace’s old facilities in Johnson City. He was able to assemble the motorcycle with relatively few problems due to the extensive design preparation performed ahead of time, although installation of the batteries proved problematic due to their weight and to tight spatial constraints within the square-stock metal frame he’d welded and installed within the Ninja’s existing frame to hold the new powertrain components. He also found that the motor’s wiring was reversed with respect to his expectations, causing the motorcycle to only work in reverse when first turned on. After correcting this and replacing a few defective battery cells, however, he had a working electric motorcycle which he could legally drive around town!

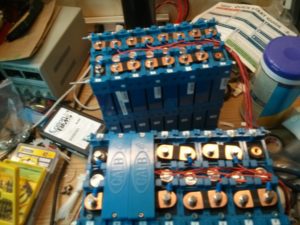
Following an initial shakedown period and a growing enthusiasm for the project, Erik elected to make several improvements to his motorcycle. First, the lead-acid batteries were replaced with lithium-iron-phosphate units, which provided a lot more energy storage and transmission capacity as well as a significant weight advantage, albeit with a considerably higher up-front cost than the lead-acid cells. He chose this battery technology over the more commonly known lithium-ion batteries for reasons of safety, as the phosphate units are less volatile in the event of a crash. These upgrades increased the effective top speed of the motorcycle from 45mph to 70mph, and provided a far greater operating range of 60 miles from the original’s range of 15 miles. Second, he replaced the relatively crude square-stock frame with one designed in CAD software and created with laser-cut panels, which gave more room for the powertrain components and was far better tailored to the Ninja’s existing frame, as well as providing significant weight savings over the old frame. These upgrades were performed at the Makerspace’s current facilities on State Street in downtown Binghamton.

Erik continues to ride this motorcycle whenever weather permits, and gets a great deal of satisfaction from the experience as well as from being able to apply the knowledge and skillset acquired from this project into many others! He is also turning this project into a business venture, working with a fellow TCMS member (Stephen Musok) to launch a “plug and play” EV powertrain module for use in other electric motorcycle retrofit projects. All of the digital design files associated with this project are open-source, so any Makers with the tools, skillset, and ambition can use them to make their own electric motorcycle if they want to; however, given the complexity and level of resources needed to build your own electric motorcycle from scratch, this may be very difficult for the average Maker. Erik wants to make the electric motorcycle retrofit process a relatively simple and more accessible one! He is currently exploring packaging options for the powertrain module to make it compatible with the frames of various other popular motorcycles, and (with Stephen) speaking with various local organizations regarding manufacturing and selling a few motorcycles based on his current designs. His project looks to have a bright future, and the Makerspace is proud to have provided it with a home during its genesis and subsequent modifications, and to have Erik as a member!

Based on an interview conducted with Erik Leonard on 3/10/2017. All photos in this blog post are the exclusive property of Erik Leonard, and are used here with his permission. For more information on the electric motorcycle powertrain retrofit kits, please visit http://www.nextwavemotors.com.

Drinkbot DIY project!

Hello!

One of the coolest projects yet to emerge from the Triple Cities Makerspace is the Drinkbot, a Raspberry Pi-controlled fluids pump and mixing system which allows you to create a beverage from up to six different sources of fluid, as set up by its web server-hosted frontend. You can read all about it in the website linked below, including schematics and parts information:

Drinkbot

Keep on making! 😀