Project Profile: Plasma-Cut Copper Sign by Yevgeniy Parfilko

Rasa Spa in Ithaca recently opened a new location in Watkins Glen, and they asked Makers in the general area for help in making a custom sign, which would have their name and logo made out of sheet metal with a warm copper finish. I reached out to them, and they were happy to work with me.

My original approach was to cut out the logo and letters out of 24 gauge aluminum with a nibbler, but the marketing director at Rasa wanted to have a sturdy, long lasting sign. So I asked Cliff Burger, the current TCMS Vice President, if it would be possible to use the plasma cutter at TCMS for this purpose, and he helped me get my letters cut from 2 sheets of 16 gauge steel.

Next, I had to create a textured copper finish that would also look both worn and warm. So I went hardware store hunting, and luckily found copper sheet flashing, which was significantly cheaper than copper plating or solid copper. I glued the copper to the metal letters and applied epoxy to the edges to prevent fraying of the combined materials.

Finally, I rubbed the copper down to create an imprinted texture, and applied a patina using a sulfur-based aging solution from a hobby store. Now it was time to mount the sign! I did not want to spend a lot of time out in the cold, so mounted modified wire crimps on standoffs to the back of the letters. That way, all I had to do was put three screws into the signboard, and my letter would snap right on. All in all, I spent two hours outdoors, most of which was spent climbing up and down a freezing ladder.

All in all, the project came out to about $150 worth of materials, which is pretty good for a custom sign made out of textured copper! You can easily spot Rasa Spa’s new location on N Franklin St in Watkins Glen.

Photo Credits:
All photos courtesy and property of Yevgeniy Parfilko.

Project Profile: Binghamton Philharmonic Brochures Stand

Triple Cities Makerspace is one of many organizations in the Binghamton area which – among other things – aims to provide one or more kinds of public service; in the case of the Makerspace, its public service is typically educational, but we also have taken on the creation of a variety of specific projects for other such organizations. One of these organizations is The Binghamton Philharmonic, a local professional symphony orchestra which puts on performances of a variety of classical and popular musical pieces in different area venues, but whose home is the Broome County Forum Theatre in downtown Binghamton. They reached out to the Makerspace via email in mid-2018 to see if one or more members of the Space would be willing to create a brochure stand for the Philharmonic from the dilapidated remnants of a chimes stand. This brochure stand, once created, was to be placed inside the Forum whenever the orchestra would be playing, to hold pamphlets advertising the Philharmonic and its activities in an upright, visible position. Erik Leonard and Cliff Burger, the current president and vice president of the Makerspace, volunteered to undertake the task of creating this brochures stand, and once the chimes stand was delivered set about remaking it into something awesome!

The chimes stand being upcycled had a steel frame with wooden and metal components used to hold the chimes, as shown in the picture below. The wooden piece had significantly deteriorated and was unusable, and the stand itself was coming to pieces and structurally unsound, but the rest of the components were determined usable. Erik and Cliff discussed what could be done with these pieces in terms of constructing a new frame and appropriate shelving to hold the Philharmonic’s pamphlets, then commenced to disassembling the stand so that the frame and chime-holding components could be refinished – as shown in the next series of pictures, below.

The chimes stand, in the condition it was as delivered to the Makerspace.
Disassembling the chimes stand.

The steel stand frame was cut down to a shorter size in order to better fulfill its new purpose, and all its components were sandblasted clean of their old finish before being welded into its new configuration using the metal shop’s Miller welder; the reformed stand was then spray-painted glossy black. The wheels from the original stand were cleaned and refitted into the stand’s base, and all of the chime set-screw holders were also cleaned and spray-painted black so that they could be repurposed to hold the new shelf dividers.

Removing the chime holders from the stand.
The refinished chime (now shelf!) holders, fresh from being sandblasted and repainted.

It was determined that a small amount of new material was needed to create the shelf and dividers which the brochures were to be placed upon, effectively replacing the wooden chimes holder which had been in a similar position in the original stand. This new shelf is comprised of several components: rectangular steel tubing for a frame to support the shelf, a small piece of plywood painted silver for the shelf itself, and steel leaves for the brochure dividers. Once the tubing had been welded into the reformed stand frame, the shelf was attached to it and the divider holders screwed into the frame behind the shelf, as shown in the pictures below. The dividers themselves were CNC’d from scrap steel at the space, and finished in a similar way as the frame itself.

Freshly welded steel frame for shelf!
The shelf being assembled with brochure dividers.

Cliff installed a finishing touch on the shelf: a metal plate created on the CNC machine, stating that the stand had been “refurbished by Triple Cities Makerspace”, and painted in black and silver. Once given a final cleaning, the stand was presented to the Binghamton Philharmonic staff, who were thrilled with the final product! Erik and Cliff were happy to do this work for the sake of building ties with another community organization and providing a substantial and needed piece of furniture to them, with the bonus of being able to reuse and upcycle an existing piece of furniture in the process!

Freshly CNC’d plaque!

Project Profile: Cliff Burger’s Knives

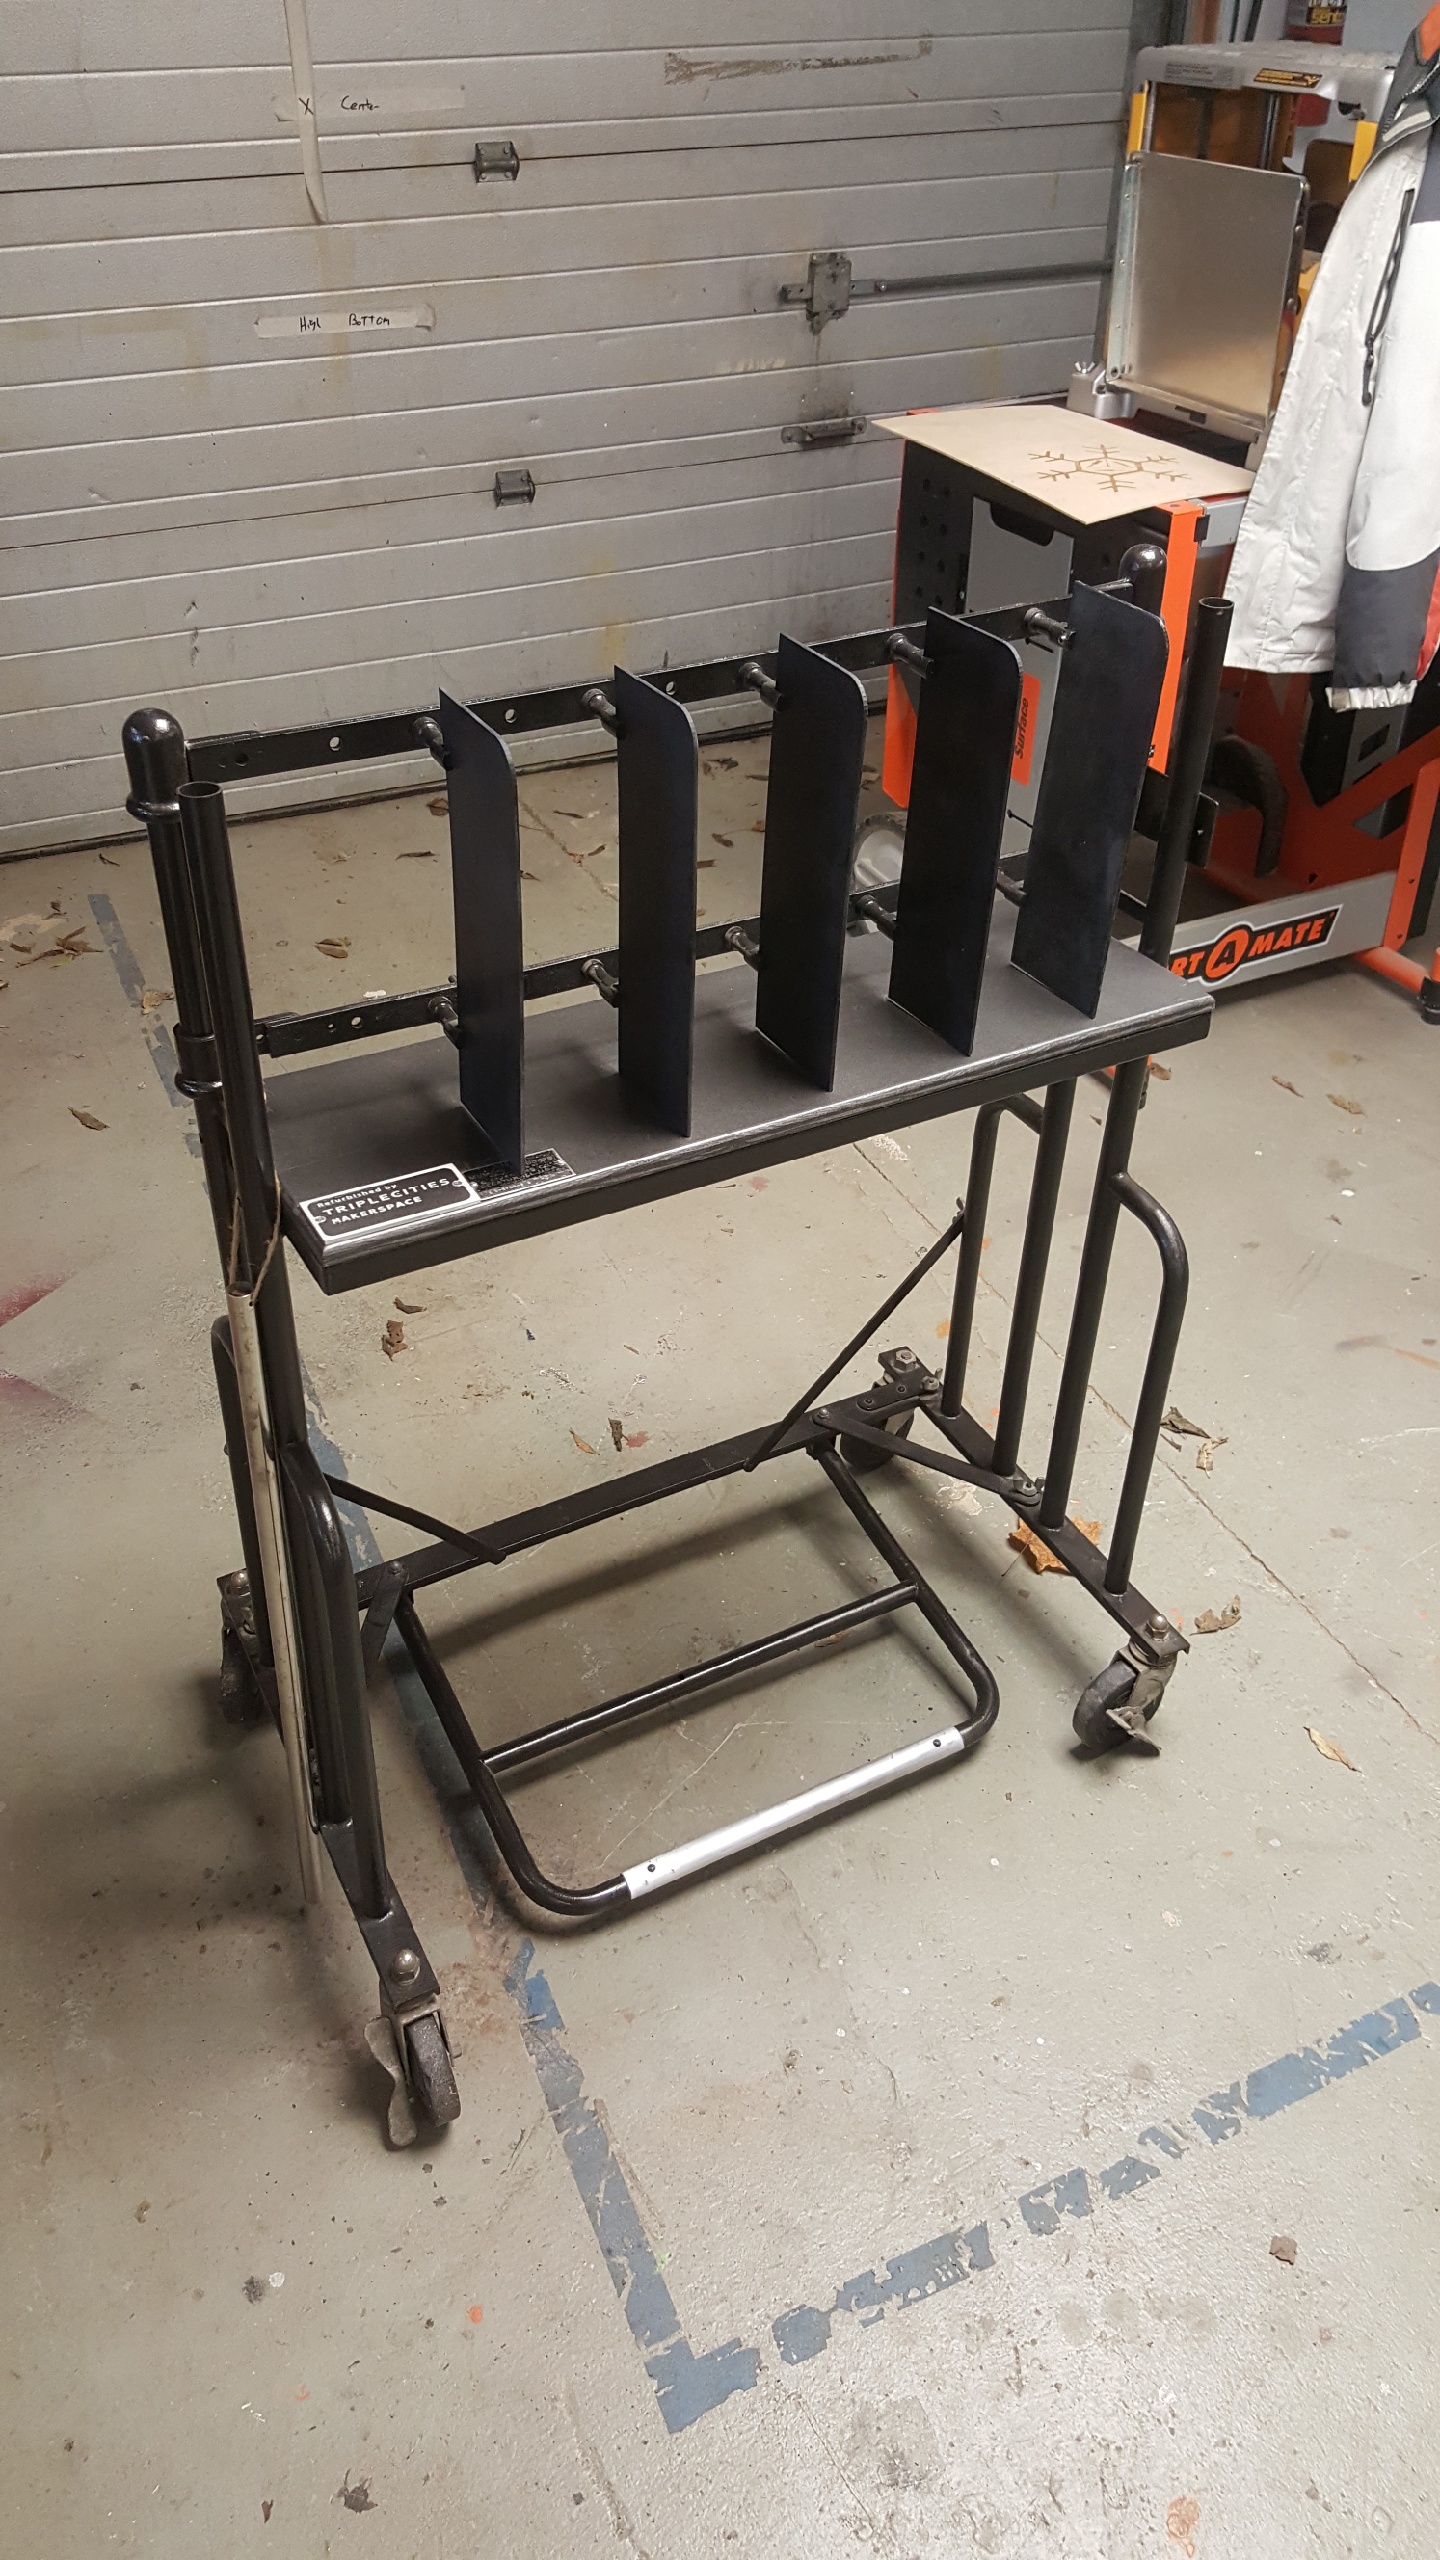
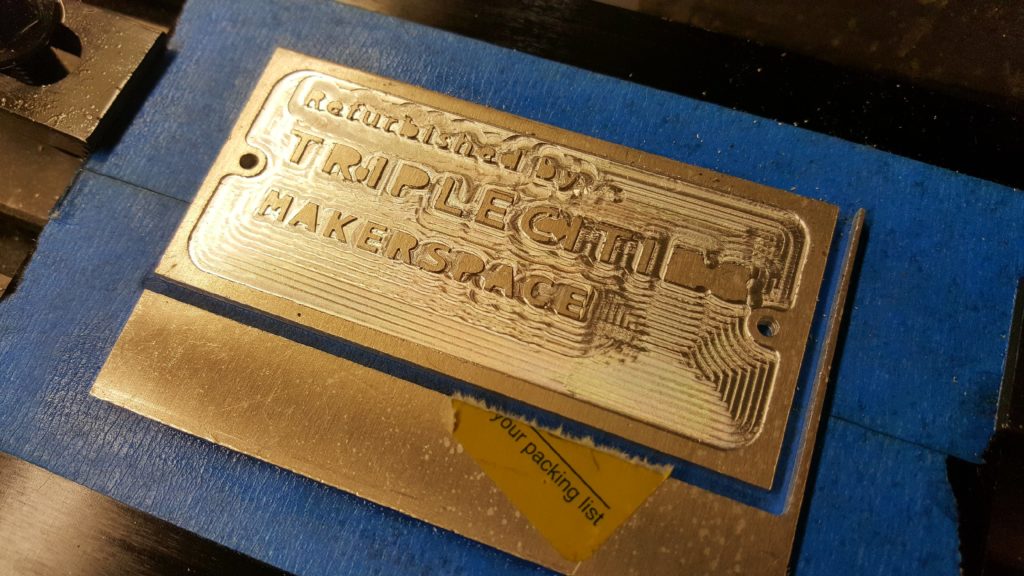
One of the most heavily-used parts of Triple Cities Makerspace is the Metal Shop, where members can frequently be found using its equipment to cut, mill, and weld to their hearts’ content. The person in charge of this area of the Makerspace is Cliff Burger, a mechanical engineer by trade and an enthusiastic machinist and metal-worker in his spare time! Cliff has worked on many group and personal projects in the Metal Shop for practical purposes, but recently he’s also finished a personal project for fun there – knife-making! He was inspired to do this after seeing some knife-making projects discussed in various online machinist forums, and decided that he wanted to put his personal touch on the general idea.

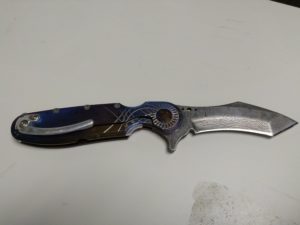
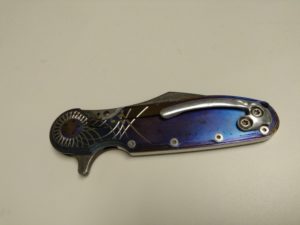
Cliff has produced two different kinds of knives so far. The simplest kind is one he made from a repurposed coarse wood file, chosen for its appropriate size as a piece of raw material as well as the high quality of its steel. A good knife blade will have a high carbon content, which allows the blade to have a sharper and more durable edge; and good files like the one he used are usually made with a high carbon variety of steel. The second knife was made from a stock piece of steel with a mixture of high-carbon and nickel-based stainless steel components for aesthetic purposes.

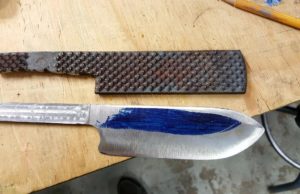
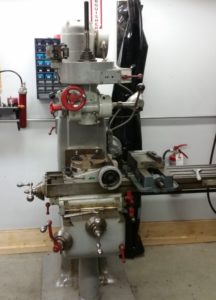
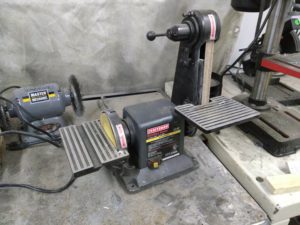
The process of making the blades for both knives is largely the same. The first step in the process is called annealing, where the raw material for the blade is heated to 800-1000 ℉ in a miniature kiln or specialty oven. This softens the material enough so that it can be reshaped into the form of a blade. A mill is used to do the three-dimensional reshaping, by trimming away any excess metal from the raw material until what is left is the desired size and shape; Cliff used a special carbide bit in the mill which could easily cut through the still relatively tough steel. The new blade is then given a beveled edge on its appropriate side using a belt sander.

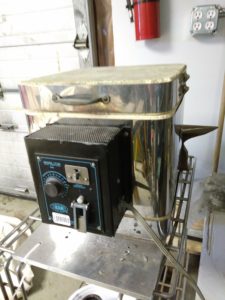
Once the blade has been created, it must be treated to regain its toughness, where toughness is defined as strength of material, vs. hardness as the ability to resist deformation – the former quality is desired for a knife blade, for the sake of having it not break if too much force is applied. Cliff reheated the blade to 1000-1200 ℉, then immediately quenched it in a bucket of salt water (brine). Finally, he placed the blade in a 400℉ oven for an hour, let it cool to room temperature, then ran it through the oven at 400℉ for another hour before letting it cool again. This process is called tempering, which leaves the carbon inside the blade at a high-energy (and very tough) state, even when the blade has cooled to room temperature.

The blade is given a final finish using sandpaper of various grits – starting at 300, and working up to 1000 or 2000 – and a thorough application of polishing compound, so that it looks as awesome as it is tough! The second knife Cliff created especially benefited from the finishing process, as the pattern exposed with the sanding and polishing is gorgeous. Cliff used diamond honing stones to put a fine edge on both knife blades, which should last for a long time even with regular use because of the high strength of the materials. The first knife is currently having a wooden handle created for it out of two separate pieces of wood, called scales, which will be screwed to the butt end of the blade. The second knife has a much finer set of scales made of grade 2 anodised titanium, which Cliff enhanced by milling an artistic pattern into both scales, and by adding a frame lock and hinge to keep the blade extended once opened.

The second knife has been used regularly for every day handyman purposes since Cliff finished making it, and the first will see regular use as a kitchen knife once its scales are finished and installed! Two other members of the Makerspace have shown interest in making their own knives after seeing the ones Cliff made, and he is currently walking them through the process of making kitchen knives from files as he did. Hopefully more people will be inspired by his example to make their own practical and useful tools!

Picture References:

All pictures provided and owned by Cliff Burger and Stephen Welte